7th-Grade Science Fair Projects With Sodas
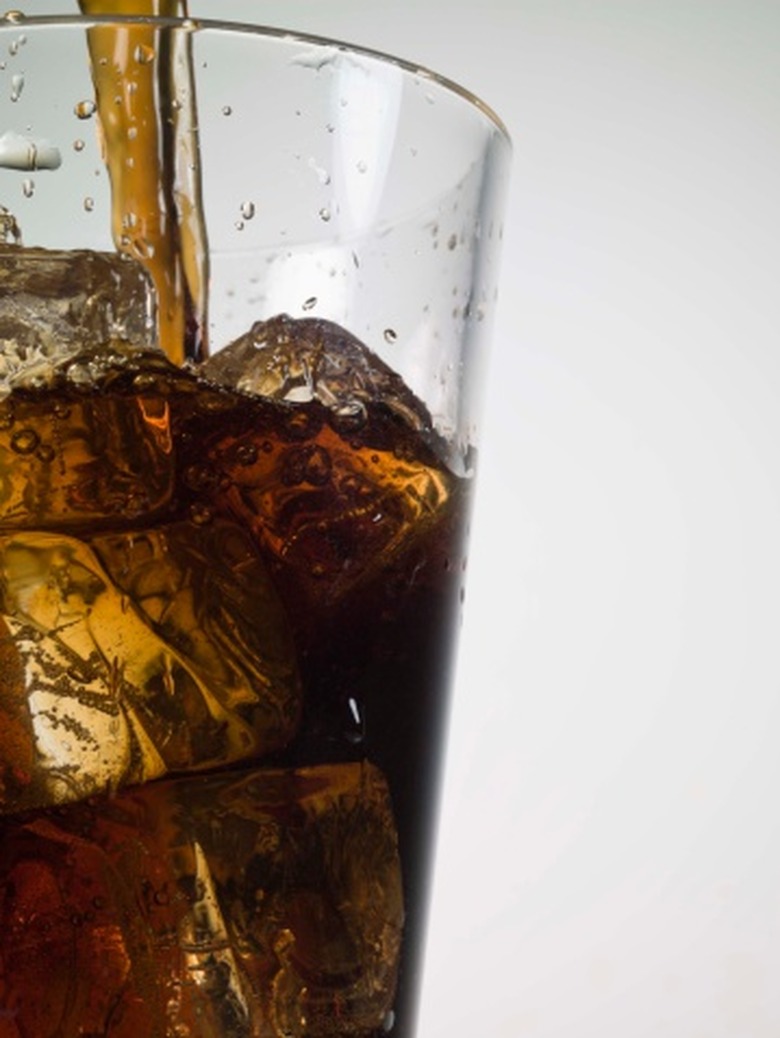
Soda is a popular concoction for use in 7th-grade science projects. Soda can be used in experiments on chemical reactions, dental hygiene and carbonation. Soda is also a safe substance to manipulate, making it a perfect experimental material for middle-school students. Many science projects with soda can be done in the comfort of your own home.

Chemical Effects
There are endless potential science experiments related to the chemical effects of soda. Many science experiments attempt to create chemical reactions by combining soda with other substances. The combination of Mentos and diet Coke can create a harmless but impressive-looking eruption. There are many urban myths related to Coke's alleged use as a cleaning agent. These myths could be used as the starting point for a myth-busters experiment, where students attempt to determine whether Coca Cola can be used to clean various substances from various surfaces. Projects like these are perfect the 7th grade because they are risk free, yet exciting.
Dental Hygiene
Carbonated beverages are infamous for causing tooth decay and other undesirable dental conditions. A science fair experiment on soda and tooth decay could track the effects of soda on teeth, using pictures from a dental records book. Another science fair project on soda and tooth decay could examine the effects of soda by exposing a model tooth (made of porcelain or another enamel-like substance) to daily doses of soda. Seventh-grade students should not attempt dental hygiene experiments on real teeth; teenagers typically have sensitive teeth that recover poorly from damage.
Carbonation
Carbonation is one distinguishing feature of soda. Sodas were among the first beverages to be carbonated, and are still among the only sweetened, nonalcoholic beverages that are mass produced around the world. A science project on soda carbonation could examine how long it takes for a carbonated soda to go completely flat, or could track the rate of decarbonation for soda compared to a different beverage (e.g., champagne). For students with a larger budget, an attempt to "revive" a flat soda with a carbonation machine could be an ideal project on carbonation.
Physical Properties
There are many possible projects on the physical properties of soda. One such project could test whether diet and regular sodas dissolve differently in water. Another project could test whether soda floats or dissolves in salt water. There are endless possibilities for projects on the physical properties of soda, as there are innumerable other substances with which soda interacts. These projects are perfect for 7th graders, who are expected to know the difference between physical and chemical properties.
- Steve Spangler Science; Mentos Diet Coke Geyser; Steve Spangler
- Anna and Eirian's Science Project; Index
- Meniscus Magazine; Bubbling Up From the Dead! Wade-Hahn Chan
Cite This Article
Button, Andrew. "7th-Grade Science Fair Projects With Sodas" sciencing.com , https://www.sciencing.com/7thgrade-science-fair-projects-sodas-8112193/. 24 April 2017.
Button, Andrew. (2017, April 24). 7th-Grade Science Fair Projects With Sodas. sciencing.com . Retrieved from https://www.sciencing.com/7thgrade-science-fair-projects-sodas-8112193/
Button, Andrew. 7th-Grade Science Fair Projects With Sodas last modified August 30, 2022. https://www.sciencing.com/7thgrade-science-fair-projects-sodas-8112193/
Recommended
How to Make a Self Freezing Coca-Cola (Or Any Instant-Soda Slurpee)

Introduction: How to Make a Self Freezing Coca-Cola (Or Any Instant-Soda Slurpee)

Step 1: Watch the Video!
Step 2: self freezing soda.

Step 3: Supercool Your Soda

Step 4: Things to Try

Step 5: More Things to Try

- Science, Tech, Math ›
- Chemistry ›
- Projects & Experiments ›
Make a Slushy Instantly With Soda and Supercooling
StockSnap/Pixabay
- Projects & Experiments
- Chemical Laws
- Periodic Table
- Scientific Method
- Biochemistry
- Physical Chemistry
- Medical Chemistry
- Chemistry In Everyday Life
- Famous Chemists
- Activities for Kids
- Abbreviations & Acronyms
- Weather & Climate
- Ph.D., Biomedical Sciences, University of Tennessee at Knoxville
- B.A., Physics and Mathematics, Hastings College
Cool off and amaze your friends by making any soft drink or soda turn into a slushy on command. Here's how to do this fun and refreshing supercooled science project.
Instant Slushy Materials
Any soda or soft drink works for this, but it works especially well with 16-ounce or 20-ounce carbonated soft drinks. It's also easiest to use a beverage in a plastic bottle.
If you don't have access to a freezer, you can use a large container of ice. Sprinkle salt on the ice to make it extra cold. Cover the bottle with the ice.
Make a Soda Drink Slushy
This is the same principle as supercooling water , except the product is more flavorful. Here's what you do with a carbonated soda, such as a bottle of cola:
- Start with a room temperature soda. You could use any temperature, but it's easy to get a handle on how long it takes to supercool the liquid if you know your approximate starting temperature.
- Shake up the bottle and place it in a freezer. Do not disturb the soda while it is chilling or else it will simply freeze.
- After about three to three and a half hours, carefully remove the bottle from the freezer. Each freezer is a little different, so you may need to adjust the time for your conditions.
- There are a couple of different ways to initiate freezing. You could open the cap to release pressure, reseal the bottle, and simply turn the soda upside down. This will cause it to freeze in the bottle. You could gently open the bottle, releasing pressure slowly, and pour the soda into a container, causing it to freeze into slush while you pour. Pour the drink over an ice cube to get it to freeze. Another option is to slowly pour the soda into a clean cup, keeping it liquified. Drop a piece of ice into the soda to initiate freezing. Here, you can watch the crystals form outward from the ice cube.
- Play with your food! Try other drinks to see what works best for you. Note that some alcoholic drinks don't work for this project because the alcohol lowers the freezing point too much . However, you can get this trick to work with beer and wine coolers.
You can make instant slush in cans, too, but it is a bit trickier because you can't see what is going on inside the can and the opening is smaller and harder to crack without jarring the liquid. Freeze the can and very gently crack the seal to open it. This method may take some finesse, but it works.
How Supercooling Works
Supercooling any liquid is chilling it below its normal freezing point without turning it into a solid. Although sodas and other soft drinks contain ingredients besides water, these impurities are dissolved in the water, so they don't provide nucleation points for crystallization. The added ingredients do lower the freezing point of water ( freezing point depression ), so you need a freezer that gets well below 0 degrees C or 32 degrees F. When you shake up a can of soda before freezing it, you're trying to eliminate any large bubbles that could act as sites for ice formation.
- Science Ice Cream Recipes
- Two Methods for Supercooling Water
- Take Your Volcano Science Project to the Next Level
- 10 Cool Chemistry Experiments
- Making Sodium Carbonate From Sodium Bicarbonate
- How to Make a Volcano Using Pop Rocks
- You've Got Ingredients for a Chemical Volcano
- Experiment to See How Much Sugar Is in a Soda
- How to Make a Baking Soda Volcano
- Baking Soda and Vinegar Chemical Volcano
- The Dancing Raisin Experiment
- How to Make Invisible Ink With Baking Soda
- Fizzy Sherbet Powder Candy Recipe
- Ketchup and Baking Soda Volcano
- How to Make Instant Sorbet in a Baggie
- Fizzy Potion Recipe
Glitter On A Dime
A blog about being crafty & having fun even on a budget!

Soda Geyser Eruption Experiment – Science for Kids
July 16, 2019 by Glitter On A Dime
Science Week started off with a blast! This is quickly becoming my favorite week of DIY Summer Camp . We kicked it off with a Soda Geyser Eruption Experiment. Have you tried this? It is so easy and the kids loved it! Like with most of our activities, it is extremely inexpensive and simple to set up.
Do your kids enjoy science? Even if they don’t, they will enjoy this. My kids love anything they can mix together or that creates a chemical reaction. That is how I knew this would be a hit.
This post does include affiliate links. That means I could earn a tiny portion of any sale that is made through clicking on any of these products with no additional cost to you. All support is greatly appreciated!
Supplies for Experiment
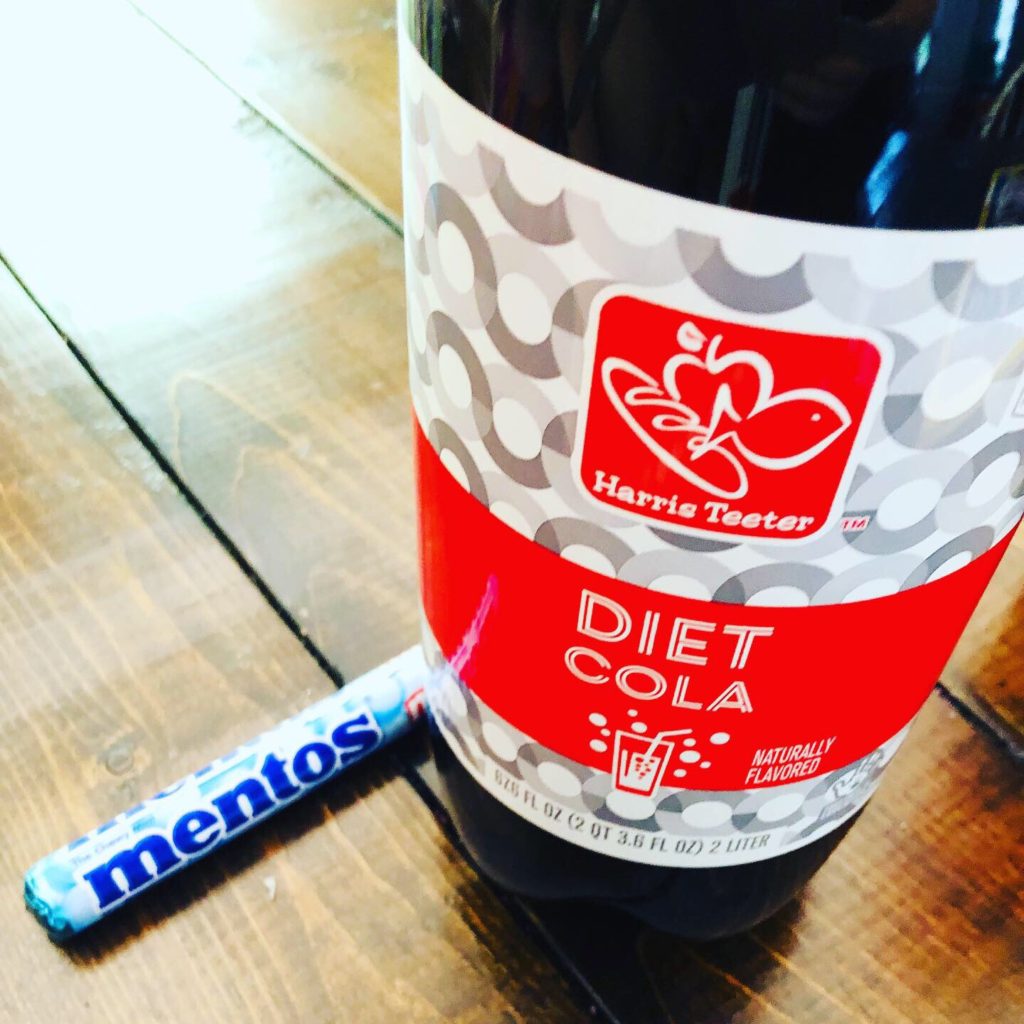
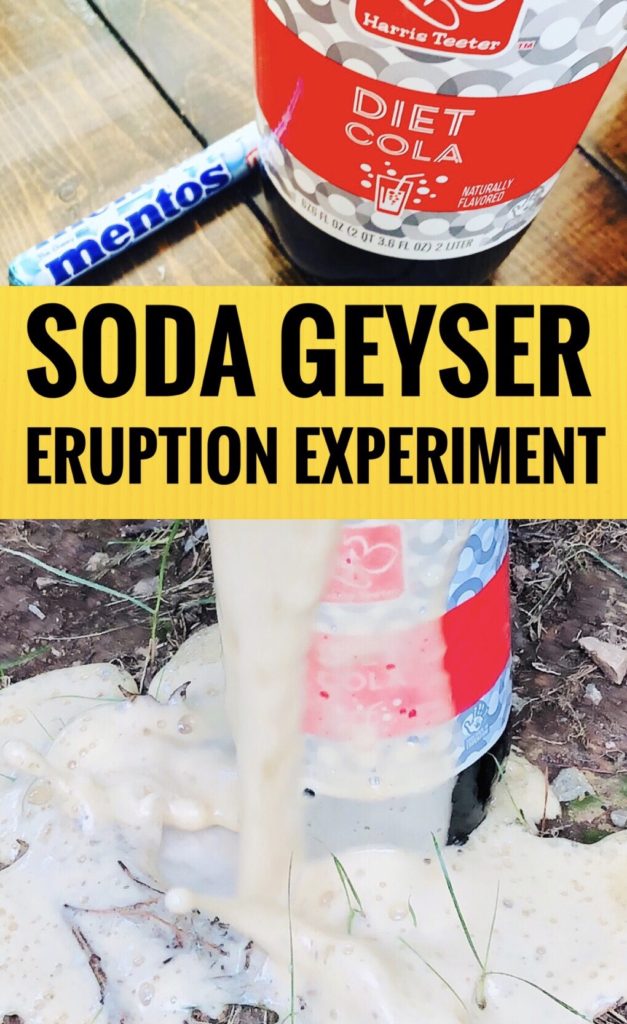
To create the Soda Geyser Eruption Experiment, you only need two ingredients and one supply item.
- 2 Liter Bottle of Soda (Regular or Diet)
- Mentos Candy
I purchased the store brand soda and it worked great! At only 59 cents a bottle, I decided to buy two. We used a regular and a diet to form a hypothesis on which one would how the largest explosion.
Preparing for the Experiment
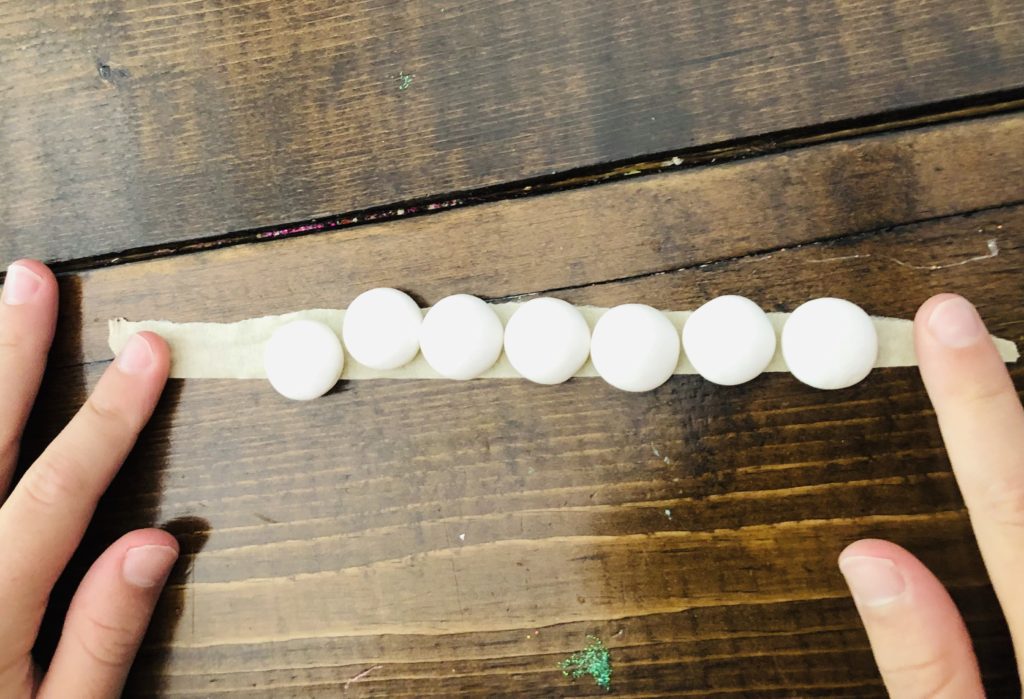
We started this experiment by placing about seven pieces of the Mentos candy on a piece of tape. You could use any tape for this part. The purpose of the tape is to make it easier for the child to drop it down into the soda bottle.
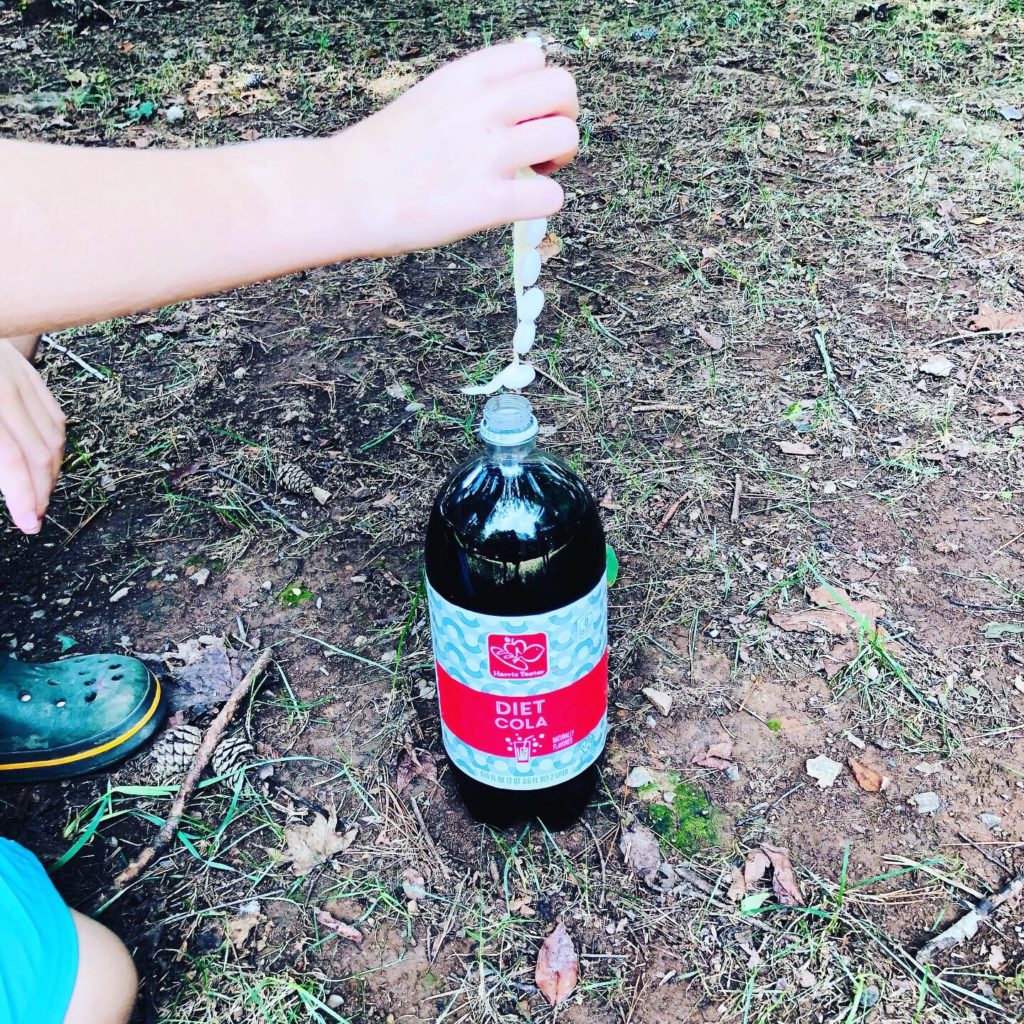
Once you have the tape of Mentos candy, it is time to take this experiment outside! Open the bottle of soda and place it on the ground. Make sure you don’t shake the bottle because it could effect the outcome of the experiment.
Once the bottle is securely on the ground, let the child drop the tape of Mentos candy into the bottle. Everyone should step back and enjoy watching this process. It doesn’t take but a second for the eruption to begin!
Experiment Success!
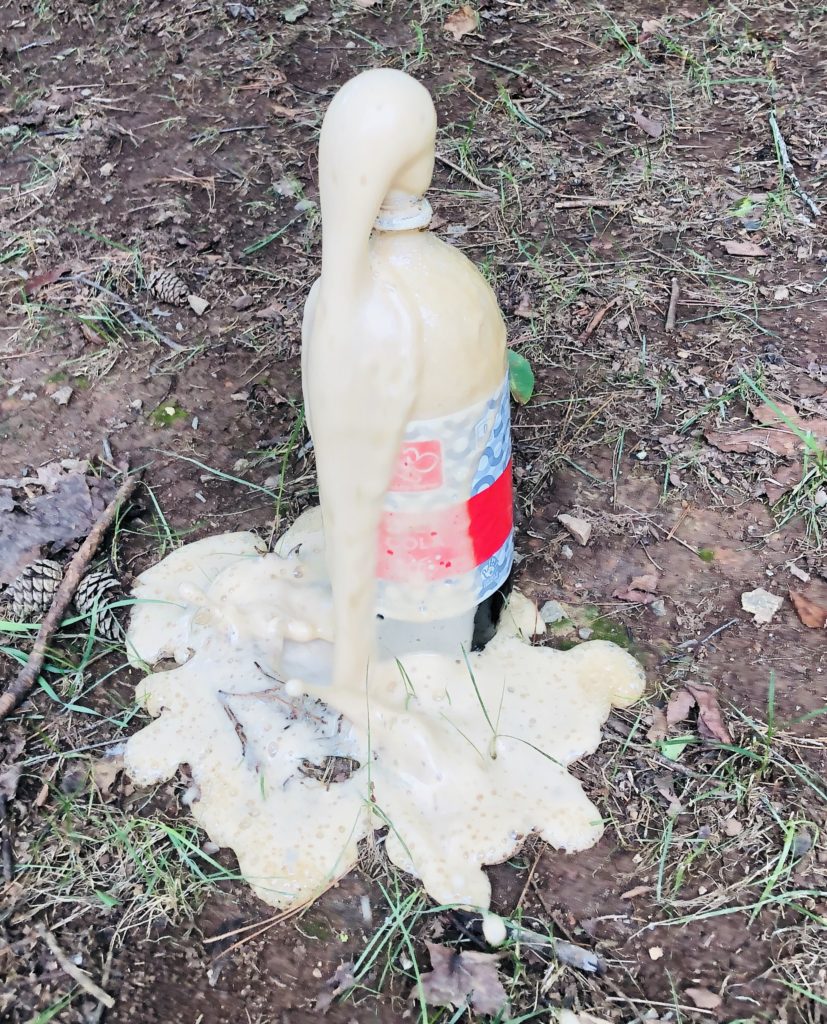
Once the bottle starts spewing it is amazing to watch! The picture doesn’t do it justice so I posted a video below. Are you curious which soda had a more powerful explosion? Regular or Diet? In conclusion, the regular soda was actually more explosive in our experiment.
Why does this experiment work? We knew it had something to do with the carbonation in the soda bottle. For the full explanation on this reaction, we read about it on Compound Interest . They give a very thorough answer with great visuals.
I thoroughly enjoy finding fun activities like this one to do with the kids. I want them to continue to be explorers and enjoy learning and experiencing new things. The best part of doing a little experiment like this is watching their minds expand right in front of you eyes!
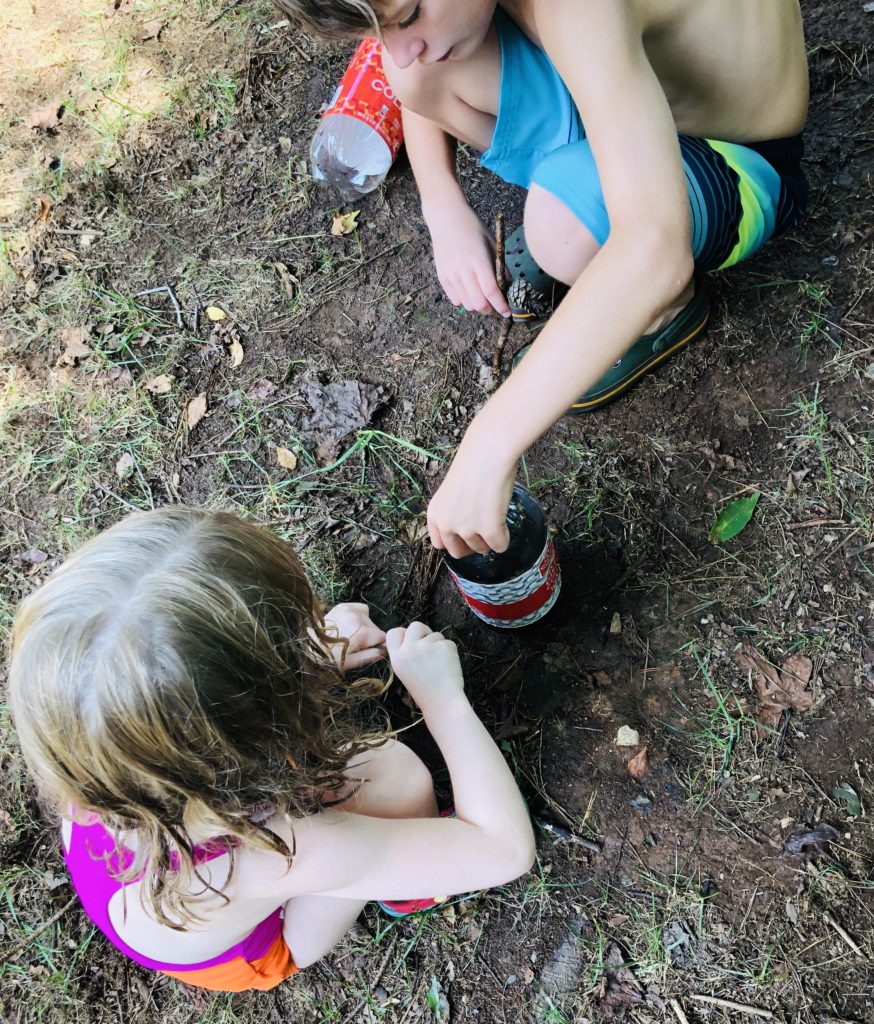
Once we finished the Soda Geyser, they continued to discover and explore in the backyard. They added dirt, rocks, little pine cones, and sticks to the bottle of leftover soda. Of course there wasn’t any sort of chemical reaction but it was still fun!
Once we were back inside later working on another experiment, Gavin asked me what would happen if we put the Mentos into vinegar. We enjoy the reaction of baking soda and vinegar and I think he wondered if it would do the same thing. So I let him drop some candy into a cup of vinegar. Again, there was no reaction but now we know!
Share this:
- Click to print (Opens in new window)
- Click to share on Pinterest (Opens in new window)
- Click to share on Facebook (Opens in new window)
- Click to share on Twitter (Opens in new window)
- Earth Science
- Physics & Engineering
- Science Kits
- Microscopes
- Science Curriculum and Kits
- About Home Science Tools
Science Projects > Chemistry Projects > Bubbles & Baking Soda Science Project
Bubbles & Baking Soda Science Project
Floating bubbles.
Using baking soda and vinegar, you can make ordinary soap bubbles stay afloat.
Watch as the bubbles stay in midair, not sinking or falling to the ground.
What You Need:
- ¼ cup baking soda
- ¾ cup vinegar
- Bubble solution
- Bubble wand
- Large, clear bowl
What You Do:
1. Put the baking soda into the bowl, then slowly pour in the vinegar until the mixture is bubbling quite a lot, but not overflowing.
2. Blow bubbles with the wand into the bowl with the fizzing mixture. The bubbles should float, rather than fall to the surface of the mixture.
What Happened:
When baking soda and vinegar are put together, they create a chemical reaction that fizzes a lot, but also forms a gas called carbon dioxide. Carbon dioxide is slightly heavier than air, which is mostly nitrogen and oxygen. Since the bubbles you blew into the container are filled with air, they float on the layer of carbon dioxide gas that the baking soda and vinegar created.
Soapy Science
If you like, try making your own bubbles with soap and water! This project is best done on a clear, windless day, but when it’s raining outside, try blowing bubbles near the kitchen sink or bathtub.
- ¼ cup of liquid dishwashing soap
- 1 cup of room temperature water
- 2 tablespoons light corn syrup (such as Karo) or 2 tablespoons liquid glycerin
- Baking pan or shallow container
- Bubble wand*
*You can make your own bubble wand using simple household materials. Use a plastic straw, a cardboard carton (such as a small cream or half & half container) with the top and bottom cut off, or a wire hanger or pipe cleaner bent into a circular shape.
In the baking pan, gently stir the corn syrup or glycerin and the dish soap into the water, until well mixed. For best results, cover the bubble solution with plastic wrap and let it sit at room temperature for several hours or overnight. To make the best bubbles, dip your wand into the mixture, slowly pull it out, wait a few seconds, and then blow. How big of a bubble can you make? How many bubbles can you make in one breath?
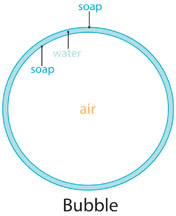
You may have noticed that when you blew into the square bubble wand, a spherical or round bubble came out! This is because as you blow air into the soap film, it surrounds the air by taking up the least surface area it can, which is in a perfect sphere shape. If you blow too hard, the soap film on the wand will pop, because it cannot stretch enough to hold that quantity of air.
Why are bubbles so colorful? The light reflecting in the layer of water sandwiched between thin layers of soap makes rainbow patterns! Sunlight is made up of all colors of light mixed together. When bright light bounces off tiny drops of water, it breaks into colored rainbows of red, orange, yellow, green, blue, indigo and violet.
Welcome! Read other Chemistry articles or explore the rest of the Resource Center, which consists of hundreds of free science articles!
Shop for Chemistry Supplies!
Home Science tools offers a wide variety of Chemistry products and kits. Find affordable beakers, test tubes, chemicals, kits, and everything else you need for lab experiments.
Related Articles
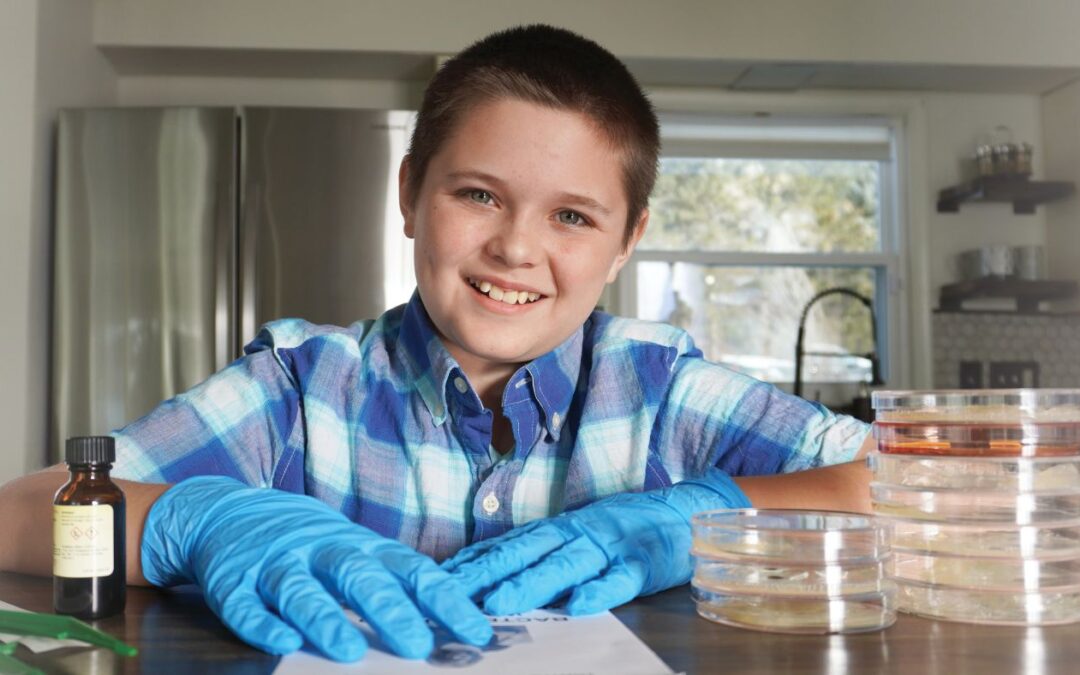
Science Fair Projects for 7th Graders
Science Fair Projects for 7th Graders Science fair projects for 7th graders are a step up in complexity. Because 7th graders have a better grasp of science concepts, they’re expected to practice the scientific method in the way they approach their experiments–which...
Home Science Experiments for Preschoolers
Home Science Experiments for Preschoolers Home science experiments for preschoolers are a great way to pique your child’s curiosity, teach them valuable knowledge, and allow them to have some fun in the comfort of their own home. There are plenty of activities your...
Easy Science Fair Projects for Kids
Easy Science Fair Projects for Kids Science fairs are a long-standing tradition that provide kids with the opportunity to better understand practical concepts in fun and innovative ways. The great thing about the experiments presented at these events is that they...
How to Make a Pollinator Hotel
Have you ever wondered how you can help provide habitat for pollinators like honey bees and butterflies in your back yard? Learn how to make a pollinator hotel with this step-by-step guide and lesson. Pollinators are animals that help move pollen. Most pollinators are...
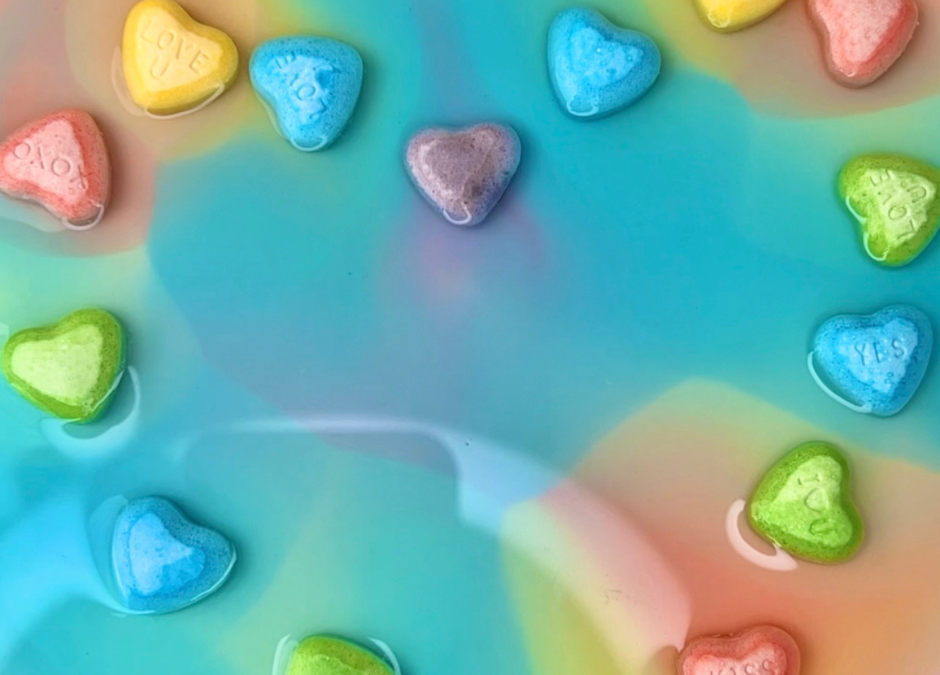
Valentine’s Day Science Projects
Valentine’s Day is a great opportunity to inspire your student’s LOVE for science! Engage your kids with science concepts such as diffusion, density, and surfactants. These three, hands-on science projects include the Dancing Conversational Hearts, Rainbow Heart, and...
JOIN OUR COMMUNITY
Get project ideas and special offers delivered to your inbox.

IMAGES
VIDEO
COMMENTS
Children love science experiments and indeed that's just the prefect way to keep your little scientists busy while building their sense of wonder.And when it comes to baking soda experiments for kids, the list is really entertaining!. The fizz, the bubbles, the eruption and that excitement of watching a chemical reaction — while following child safety rules — in front of your eyes is ...
Soda is a popular concoction for use in 7th-grade science projects. Soda can be used in experiments on chemical reactions, dental hygiene and carbonation. Soda is also a safe substance to manipulate, making it a perfect experimental material for middle-school students. ... an attempt to "revive" a flat soda with a carbonation machine could be ...
From what I've seen, the results in this experiment form an even thicker slush than the vending machine in Hong Kong. Step 3: Supercool Your Soda. To get this effect, I shook up 4 bottles of 500mL (16.9 oz) soda in a freezer set at -24ºC (-11ºF) between 3:15- 4:00 hours. The longer they are in, the more dramatic and solid the slushy freeze ...
You could gently open the bottle, releasing pressure slowly, and pour the soda into a container, causing it to freeze into slush while you pour. Pour the drink over an ice cube to get it to freeze. Another option is to slowly pour the soda into a clean cup, keeping it liquified. Drop a piece of ice into the soda to initiate freezing.
The experiment is complete when the temperature reading of the soda stabilizes. For each cooling device, calculate the average temperature of the three soda cans for each time point. Make a graph of the average temperature of the soda (y-axis) vs. elapsed time (in minutes) since the beginning of the experiment.
With a few simple ingredients, students can experiment with mixing up their own soda-style beverages at home using sodium bicarbonate and citric acid mixed with water. Experimenting with the quantity and ratio of these ingredients lets students observe the chemical reaction that occurs. ... Marble Machine: 2016 Engineering Challenge. COMPANY ...
Disclaimer and Safety Precautions Education.com provides the Science Fair Project Ideas for informational purposes only. Education.com does not make any guarantee or representation regarding the Science Fair Project Ideas and is not responsible or liable for any loss or damage, directly or indirectly, caused by your use of such information.
Supplies for Experiment. To create the Soda Geyser Eruption Experiment, you only need two ingredients and one supply item. 2 Liter Bottle of Soda (Regular or Diet) Mentos Candy; Tape ; I purchased the store brand soda and it worked great! At only 59 cents a bottle, I decided to buy two. We used a regular and a diet to form a hypothesis on which ...
¼ cup baking soda; ¾ cup vinegar; Bubble solution; Bubble wand; Large, clear bowl; What You Do: 1. Put the baking soda into the bowl, then slowly pour in the vinegar until the mixture is bubbling quite a lot, but not overflowing. 2. Blow bubbles with the wand into the bowl with the fizzing mixture.
There are countless ways to modify this experiment. You could add more cans of soda to get average temperatures for each freezing method. You can switch up methods by adding a fan and trying to cool the drink as it sits outside of the fridge. There are lots of new things to try when looking for an even better way to cool your drinks to a chilly ...